More examples of Progressive Image Loading
José M. Pérez / March 05, 2017
6 min read • 4,121 views
In a past post I dissected a technique used by Medium to display images, transitioning from a blurry image to the final one. Since then I have found some more sites following a similar approach. Let's see how Quora, Quartz and Clicktorelease do it.
Quick Introduction
Images are the largest assets on web pages and they account for two thirds of the bytes. Image optimisation and choosing the right image format is paramount. In addition, some sites are also using small thumbnails as placeholders while the final image hasn't loaded yet. This technique is also called "blur-up". It basically tries to improve user's perceived performance while also saving data traffic when combined with lazy-loading.
There are other alternatives to this approach. One of them consists of using a single JPEG image, tweaking its scan script to quickly render an initial pixelated version of the image and progressively load the final image in several scans. I recommend you having a look at Progressive JPEGs and green Martians to know more about this.
Also, if you like images optimisation, follow Cloudinary's Blog, full with useful posts on this topic.
Quartz
Take a look at the following video, recorded when accessing a page on QZ.com with a throttled connection:
Quartz's implementation follows this steps:
- Request a small
<img/>that will be blurred. In their case, they use 50px width images, with a 80% quality. - Apply blur effect using a CSS filter.
- Request the large image.
One of the interesting points about Quartz is that their markup specifies the large image using the syntax for responsive images. The main difference is that they use a data-srcset attribute, so they control when to make the request and prevent the browser from requesting the large version of the image when the markup is parsed.
I find this approach very neat since they try to follow the "standard" way to serve images, adding extra bits to lazy load and animate the transition.
<figure class="progressive-image featured-image size-extra-large">
  <!-- a picture element with intrinsic ratio -->
  <picture style="padding-bottom: 56.1875%; background-image: url(https://qzprod.files.wordpress.com/2017/01/fish.jpg?quality=80&strip=all&w=50);">
    <!-- the small image that will be blurred -->
    <img src="https://qzprod.files.wordpress.com/2017/01/fish.jpg?quality=80&strip=all&w=50" class="progressive-image-thumbnail">
    <!-- a lazy responsive image with data-srcset -->
    <img
      itemprop="image"
      data-srcset="https://qzprod.files.wordpress.com/2017/01/fish.jpg?quality=80&strip=all&w=320 320w, https://qzprod.files.wordpress.com/2017/01/fish.jpg?quality=80&strip=all&w=640 640w, https://qzprod.files.wordpress.com/2017/01/fish.jpg?quality=80&strip=all&w=940 940w, https://qzprod.files.wordpress.com/2017/01/fish.jpg?quality=80&strip=all&w=1600 1600w, https://qzprod.files.wordpress.com/2017/01/fish.jpg?quality=80&strip=all&w=3200 3200w"
      data-src="https://qzprod.files.wordpress.com/2017/01/fish.jpg?quality=80&strip=all&w=320"
      class="progressive-image-large" alt="INDIA-fishermen"/>
    <!-- a noscript fallback -->
    <noscript>
      <img
        src="https://qzprod.files.wordpress.com/2017/01/fish.jpg?quality=80&strip=all&w=320"
        alt="INDIA-fishermen">
    </noscript>
  </picture>
  <figcaption>...</figcaption>
</figure>
Quora
Quora also implements a blur-up technique for the images in their posts. To see an example head to this page.
Here we see what the page looks like when displaying the blurry placeholder:
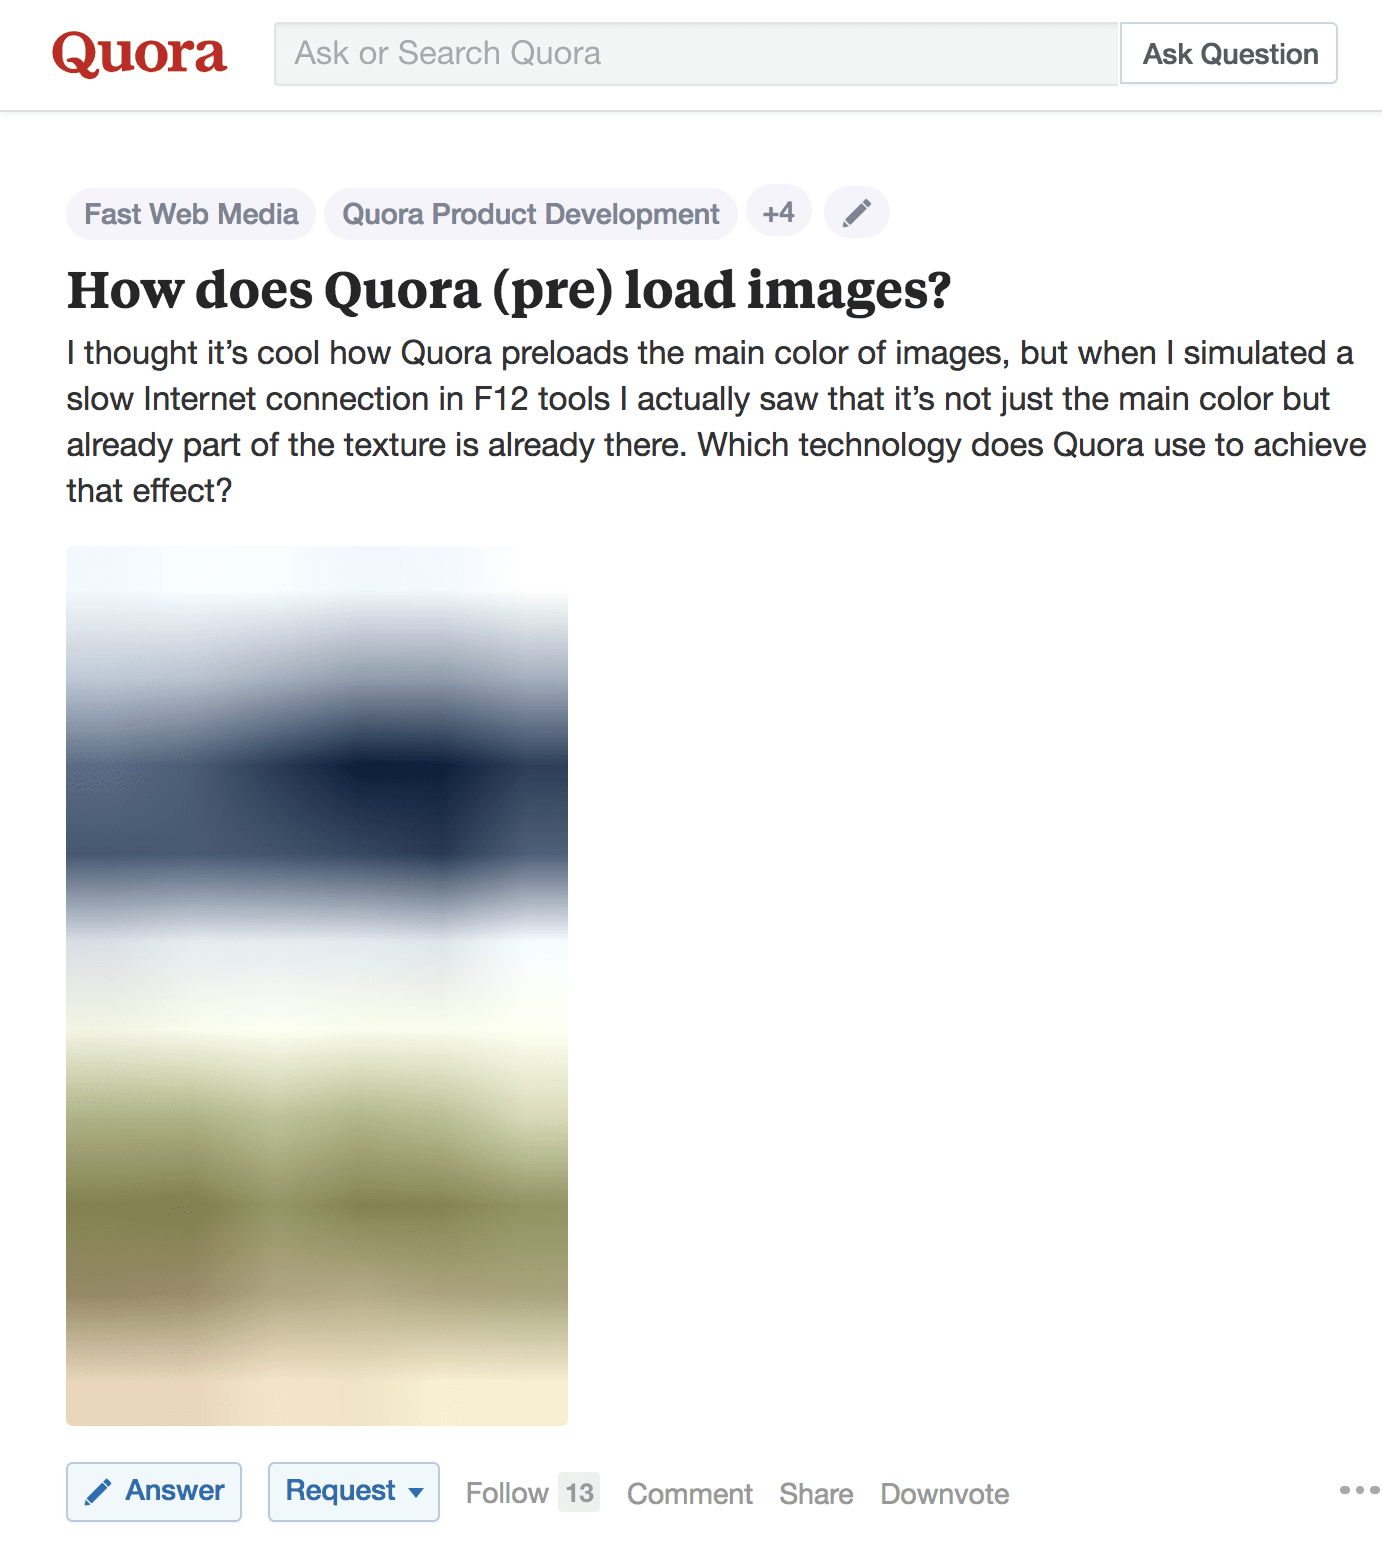
Screenshot from Quora showing the blurry placeholder
Let's dive into the code to see what's going on. First of all, let's focus on the HTML markup:
<div class="qtext_image_wrapper">
    <!-- a canvas with a data-uri containing the thumbnail -->
    <!-- which is in PNG format and very small (in this page 6x10 px) -->
    <canvas class="qtext_image_placeholder portrait qtext_image zoomable_in zoomable_in_feed"
        width="499"
        height="874"
        data-src="data:image/PNG;base64,UklGRmgAAABXRUJQVlA4IFwAAADwAQCdASoGAAoAAUAmJYgCdEf/g…iD0z/yA/5ipcuk5xHSdrS38j8CkH7s+vKeZu9EwRy0f/KPIlo/+UifdfcpiRcJiRnXXAAAAA==">
    </canvas>
    <!-- a lazy image with src set as data-src and master_src -->
    <!-- data-src is a webp image (at least when requested using Chrome). -->
    <!-- the size for data-src in this page is ~34kB -->
    <!-- master_src is a png image. Its size in this page is ~177kB -->
    <img class="portrait qtext_image zoomable_in zoomable_in_feed lazy_loaded lazy_loading"
        src=""
        data-src="https://qph.ec.quoracdn.net/main-qimg-f35a9a38e575bfbe76806b7838eba025-p"
        master_src="https://qph.ec.quoracdn.net/main-qimg-f35a9a38e575bfbe76806b7838eba025"
        master_w="499"
        master_h="874" />
</div>
Why to use both data-src and master-src? The master_src image is the one requested when clicking on the image to get a larger view.
In Quora there is no blur effect applied. They use canvas.drawImage() to render the tiny thumbnail in the canvas. You can see this by inspecting their code, that lives in the shared/lazy_load_images module that gets bundled in the main JS file:
// draw the data-uri image on the canvas
function a(e) {
    if (e.getAttribute("data-src")) {
        var t = new Image;
        t.src = e.getAttribute("data-src");
        var i = e.getAttribute("width")
          , n = e.getAttribute("height")
          , o = e.getContext("2d");
        t.addEventListener("load", function() {
            o.drawImage(t, 0, 0, i, n)
        }, false)
    }
}
// go through all canvas on the page with a data-src
function r() {
    var e = document.querySelectorAll("canvas[data-src]");
    d.insertionQ("canvas[data-src]").every(function(e) {
        a(e)
    }),
    [].forEach.call(e, a)
}
In short, Quora's technique consists of:
- Draw an inlined tiny PNG in a canvas
- Request the large image using WebP (if supported) or other format.
- Set the large image as source for the
<img/>element, animate its opacity and hide the canvas.
Clicktorelease
Clicktorelease.com, @thespite's website, has just been redesigned and he has also added lazy-loading of images.
The most interesting bit here is that the thumbnail is not the image itself, but the values of the DCT matrix for the thumbnail, which makes the payload really small.
These are the steps to load an image:
- Make a request for the
thumb-srcimage. It is a 16x4 PNG thumbnail whose size is usually in the 300B. - Create a
<canvas/>and draw the image resulting from the calculation the inverse DCT of the thumbnail. - Request the large image using the
original-srcurl. If the browser supports the webp image format, then ".webp" is appended to the src and a webp image is requested.
The initial markup looks like this:
<div class="hero image">
    <!-- the lazy loaded image -->
    <!-- thumb-src is a matrix of DCT coefficients -->
    <!-- note that a background-color is also set so -->
    <!-- it is rendered while the image is fetched -->
    <div thumb-lazy
      original-src="/images/graphical-web-2016.jpg"
      thumb-src="/images/graphical-web-2016-thumb.png"
      thumb-width="2880" thumb-height="1800"
      style="background-color:#121513;width:100%">
    <!-- a div with intrinsic ratio -->
    <div style="padding-bottom:62.5%">
        <!-- fallback for browsers not using JS / bots -->
        <noscript><img src="/images/graphical-web-2016.jpg"></noscript>
    </div>
</div>
I think it is a very good example of progressive enhancement, providing a <noscript> alternative, and going all the way up from a solid background-color, to a blurry gradient and finally the large image with support for webp.
Wrapping Up
It's very interesting seeing these slightly variations for implementing progressive image loading. Some of them work without Javascript, some others are built on responsive images, some use CSS filters and others canvas.
If you want to follow a basic example, check my "Reproducing Medium loading image effect" pen. Let me know if you come across any other site implementing these techniques.